Install Wagtail Django CMS on Apache2, Ubuntu 20.04

The following steps were performed on a Ubuntu 20.04 terminal to install wagtail cms.
1. Install Python on the system.
sudo apt update
sudo apt install python3.8
2. Check if python has been installed correctly by running,
python --version
Here, you might have to use python3 --version if you have both python2 and python3 versions installed and are using python3.x as your current version.
3. Install pip (package manager for python).
curl https://bootstrap.pypa.io/get-pip.py -o get-pip.py
run get_pip.py file in the current directory where you downloaded get-pip.py file.
python3 get-pip.py
4. Install Apache2 webserver.
sudo apt-get install apache2
5. Install other required dependencies and tools.
sudo apt-get install libjpeg-dev libfreetype6-dev zlib1g-dev libtiff-dev
sudo apt-get install build-essential python-setuptools wget
If faced with error “target wsgi script cannot be loaded as python module”,
install python3-dev by running
sudo apt-get install python3-dev
Run sudo apt-get install python-dev if you are using python2 version.
6. Now that you have apache2 and python installed, you need to install mod_wsgi.
mod_wsgi is a module that runs with Apache that serves Django-based application or any python WSGI application.
wget https://github.com/GrahamDumpleton/mod_wsgi/archive/4.4.21.tar.gz
tar xzf 4.4.21.tar.gz
cd mod_wsgi-4.4.21/
sudo apt install apache2-dev
./configure
make
sudo make install
sudo echo "LoadModule wsgi_module /usr/lib/apache2/modules/mod_wsgi.so" > /etc/apache2/mods-available/wsgi.load
sudo a2enmod wsgi
7. Configure apache2 to set mod_wsgi settings.
cd /etc/apache2/sites-available/
sudo a2dissite 000- default.conf
sudo touch website.conf
sudo a2ensite website.conf
sudo service apache2 restart
8. Open website.conf file to write the following configuration in between <VirtualHost *:80> </VirtualHost> tags.
      ServerName 127.0.0.1:8000
      #ServerAlias example.com *.example.com

      #Define project_name     wagtaildemo #
      #Define user             root      # who owns the project? /home/the_username/..

      #Define project_path     /home/wagtaildemo # Absolute path to the directory containing manage.py
      #Define wsgi_path        /home/wagtaildemo/wagtaildemo # Absolute path to the directory containing wsgi.py
      #Define environment_path /home/wagtailenv # Absolute path to the virtual python environment

      WSGIDaemonProcess www-data-wagtaildemo user=www-data group=www-data processes=1 threads=1 python-eggs=/tmp/python-eggs/ python-path=/home/wagtaildemo:/home/wagtailenv/lib/python3.8/site-packages
      WSGIProcessGroup www-data-wagtaildemo

      WSGIScriptAlias / /home/wagtaildemo/wagtaildemo/wsgi.py


             Require all granted


      Alias /static /home/wagtaildemo/static

             Require all granted
             SetHandler None
             FileETag none
             Options FollowSymLinks


      Alias /media /home/wagtaildemo/media

             Require all granted
             SetHandler None
             FileETag none
             Options FollowSymLinks
             ErrorDocument 404 /error404


      ErrorLog /var/log/apache2/www-data-wagtaildemo-error.log
      LogLevel info
      CustomLog /var/log/apache2/www-data-wagtaildemo-access.log combined
9. Create a virtual python environment using virtualenv for wagtail specific python packages.
python3 -m pip install venv
python3 -m pip install virtualenv
virtualenv wagtailenv
source wagtailenv/bin/activate
Now that you have activated a new environment where you would be installing your new packages, check the same by running,
which python3
10. Install the Wagtail package in the current environment. Check out the wagtail website here.
python3 -m pip install wagtail
Create a new wagtail project.
wagtail start wagtaildemo
Here it is named wagtaildemo.
11. Now inside the wagtaildemo directory, run
python3 -m pip install -r requirements.txt
python3 manage.py migrate
python3 manage.py createsuperuser
python3 manage.py collectstatic
The first command installs all the default required dependencies/packages for your wagtail project. The migrate command prepares the Django models associated with the project. A superuser is also created who will be the admin of the wagtail cms. The last command copies all the static resources to the root folder’s /static/ path.
12. You can look up the error logs for the application at the location /var/log/apache2/www-data-wagtaildemo-error.log.
Here ‘wagtaildemo’ is the name of the project.
In case of an error found with mod_wsgi apache extension, you may need to install libapache2-mod-wsgi-py3 for python3. The error says mod_wsgi exception occurred processing WSGI script. AttributeError: ‘module’ object has no attribute ‘lru_cache’.
sudo apt-get remove libapache2-mod-python libapache2-mod-wsgi
sudo apt-get install libapache2-mod-wsgi-py3
13. For SQLite database permission-related error, attempting to write a readonly database, change permissions using chown command.
chown -R www-data:www-data wagtaildemo/
to change project user:group to the user, group as in website.conf.
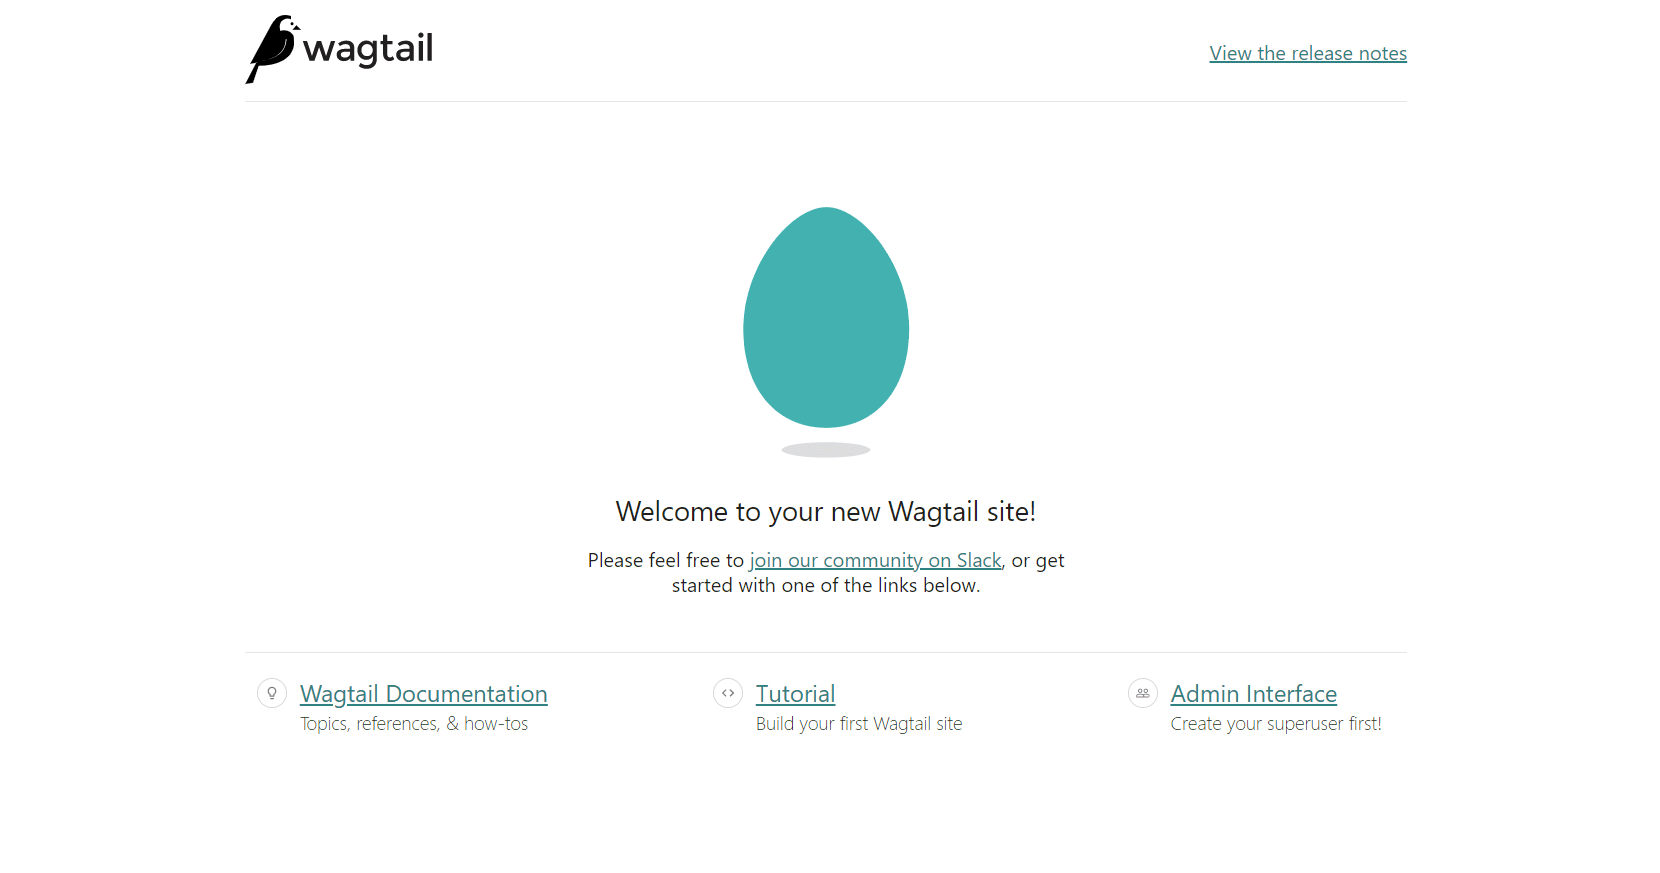
14. Restart the apache2 server and hit the localhost address in the browser to check out your new wagtail site.
sudo service apache2 restart

Now, to create a blog on your wagtail site, you can install the wagtail-nesting-box python package via pip.
